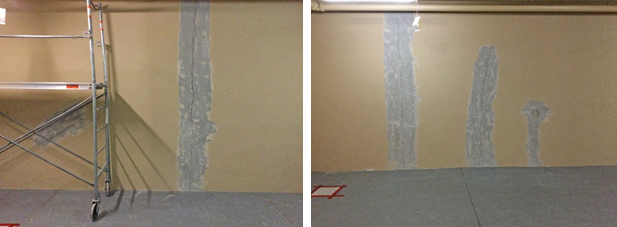
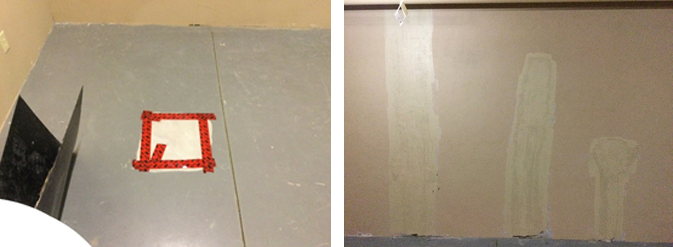
Right off the bat, I want to apologize for the quality of the photographs. The room in which we are working has extremely limited lighting, which results in murky images! In February, we removed all the tables that had been used for temporary storage in the future permanent storage room. The first step in retrofitting the room involved examining the two exterior walls to determine if all the surrounding city construction had compromised their impermeability. There were several vertical cracks in both walls that needed to be excised for the engineer to examine.
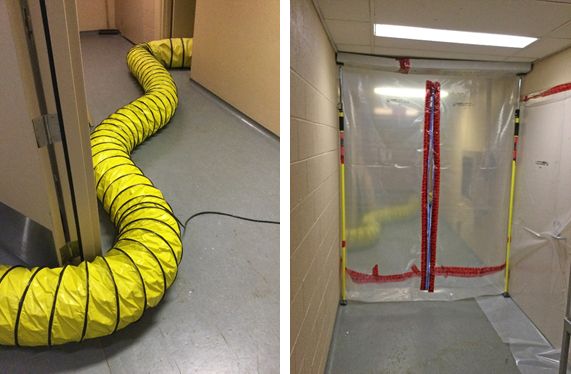
This stage created a lot of dust. To prevent the debris from moving through the HVAC system, filters were placed over all the intake vents, a sealed plastic curtain was hung in the hallway outside the room and a large hose to which a fan was attached pushed everything into an emergency stairwell.
Once the engineer gave the ‘all clear’, the cracks were sealed, then filled to bring them even to the surfaces of the surrounding walls. After this treatment had dried, parging was applied to all the cracks as an extra cautionary step to prevent ingress of moisture. We also performed tests to see if moisture was rising up through the floor which is the pad the museum is built on. This was a very simple procedure: the floor sealant was ground off, a square of plastic placed over this area and all four sides of the patch taped to the cement floor. A hand held device called a concrete moisture metre was used to measure accumulated moisture which turned out to be insignificant. These two exploratory patches will remain on the floor as we work through the different stages of the retrofit. As we move into spring, a traditionally wet time of year, these patches will indicate if there is seasonal shift.
Next step is to bring in electricians to install extra wall outlets and, as referenced at the beginning of this blog, much needed additional lighting! I’ll keep you updated with the progress.
Ada Hopkins
BSM Conservator

